Running Linux and Windows on a Mac M1/M2 laptop

Recently, I encountered an error in the documentation of an open-source tool. I created a pull request with a proposed fix. However, I was then asked to test the fix in both Linux and Windows operating systems. But how could I achieve that if I only have access to a Macbook M1 and my previous efforts of running a Linux Virtual Machine on it had completely failed? I decided to give it another shot and, this time, the results were much more promising!
In this blog post, I will guide you through the process of setting up a Linux Virtual Machine(VM) using XCode, as well as running Windows 11, for free, using UTM. Before we begin, please ensure that you have at least 100GB of free space available on your drive.
Linux Virtual Machine on XCode
To run Linux on your Mac, we need to begin by downloading a few necessary components:
-
Ensure that XCode is installed and updated on your system.
-
Select the Linux distribution you wish to run. This could be Ubuntu, Debian or Fedora. It’s important to download the Linux ISO image that aligns with the architecture of your Mac (aarch64 or arm64 for Intel-based or Apple silicon, respectively). For this post, I’ll be using Ubuntu 22.04.3.
-
Download the sample code from Running GUI Linux in a Virtual Machine on a Mac. You’ll receive a zip archive named
RunningGUILinuxInAVirtualMachineOnAMac.zip. The download button can be found at the top of the page, as shown in the picture below. Once downloaded, extract the contents of the zip file.

Download buttonThe RunningGUILinuxInAVirtualMachineOnAMac source code is an XCode project. This macOS app installs a Linux
distribution from an ISO image into a VM and then runs the installed Linux VM.
To use it, open XCode and select Open Existing Project. Then, choose the GUILinuxVirtualMachineSampleApp folder.
In the XCode Project Navigator, select the root folder. Proceed to the Signing & Capabilities panel and
under Signing Certificate, choose the Sign to Run Locally option.
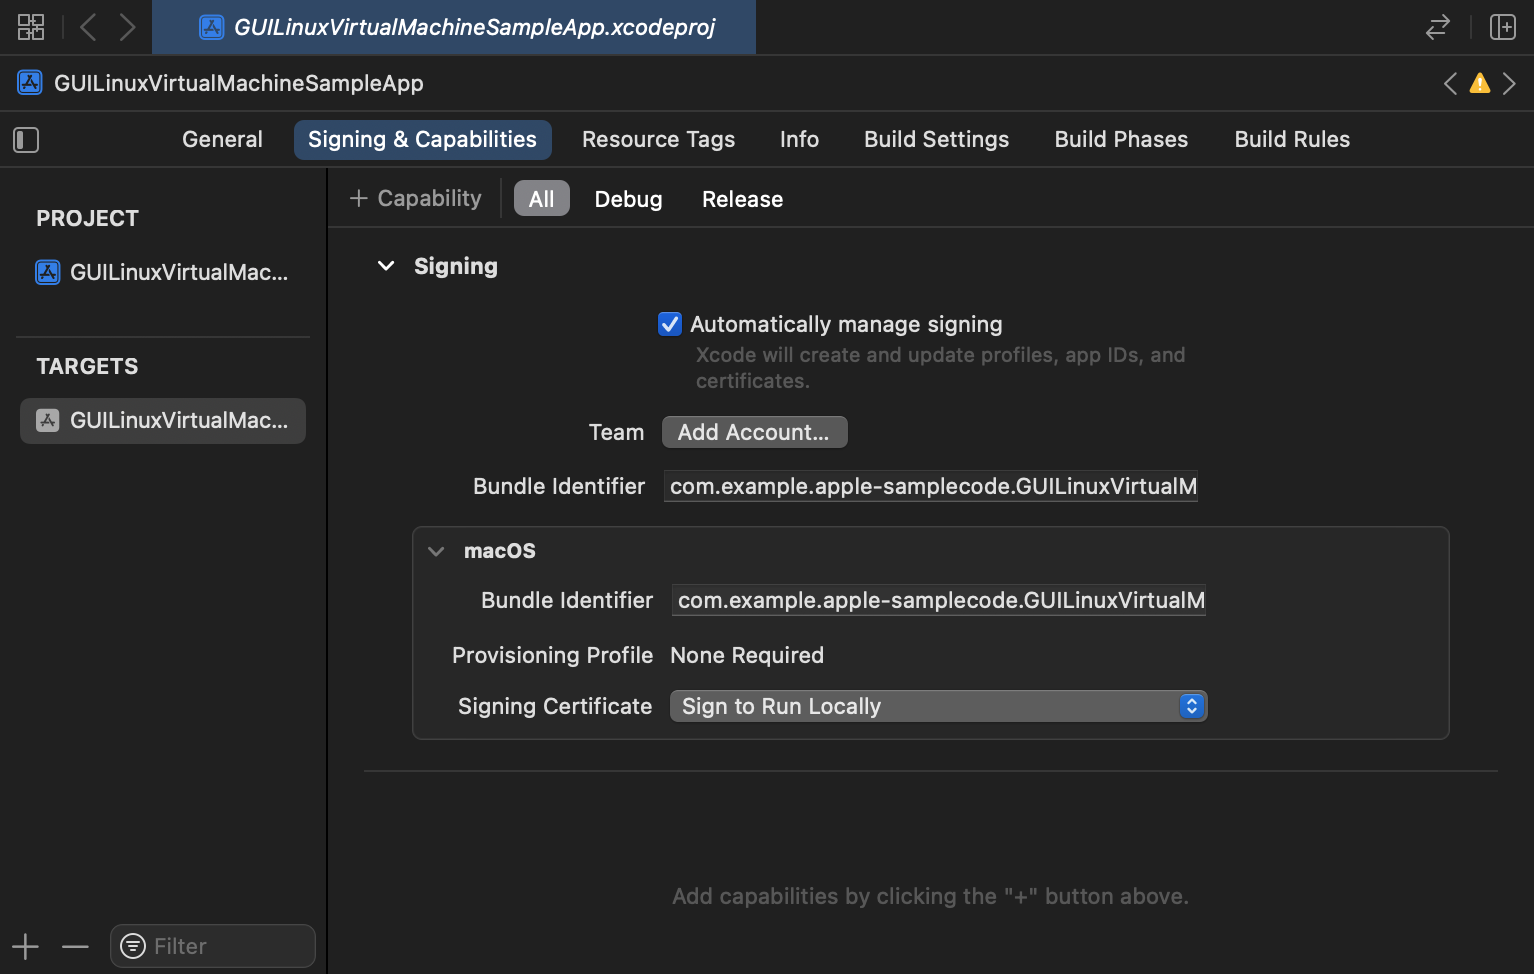
At the top of the XCode Project Navigator, initiate the project by clicking on the large arrow button.
XCode will then prompt a file picker. Here, select the Linux ISO image that you previously downloaded.
The VM will boot into the OS installer and display the installer’s user interface. Follow the provided installation instructions. Once the installation is complete, your Linux VM is ready for use.
Please note: During the VM installation, you may encounter some errors while booting. However, Linux will start up after these initial errors. A little patience may be needed here.
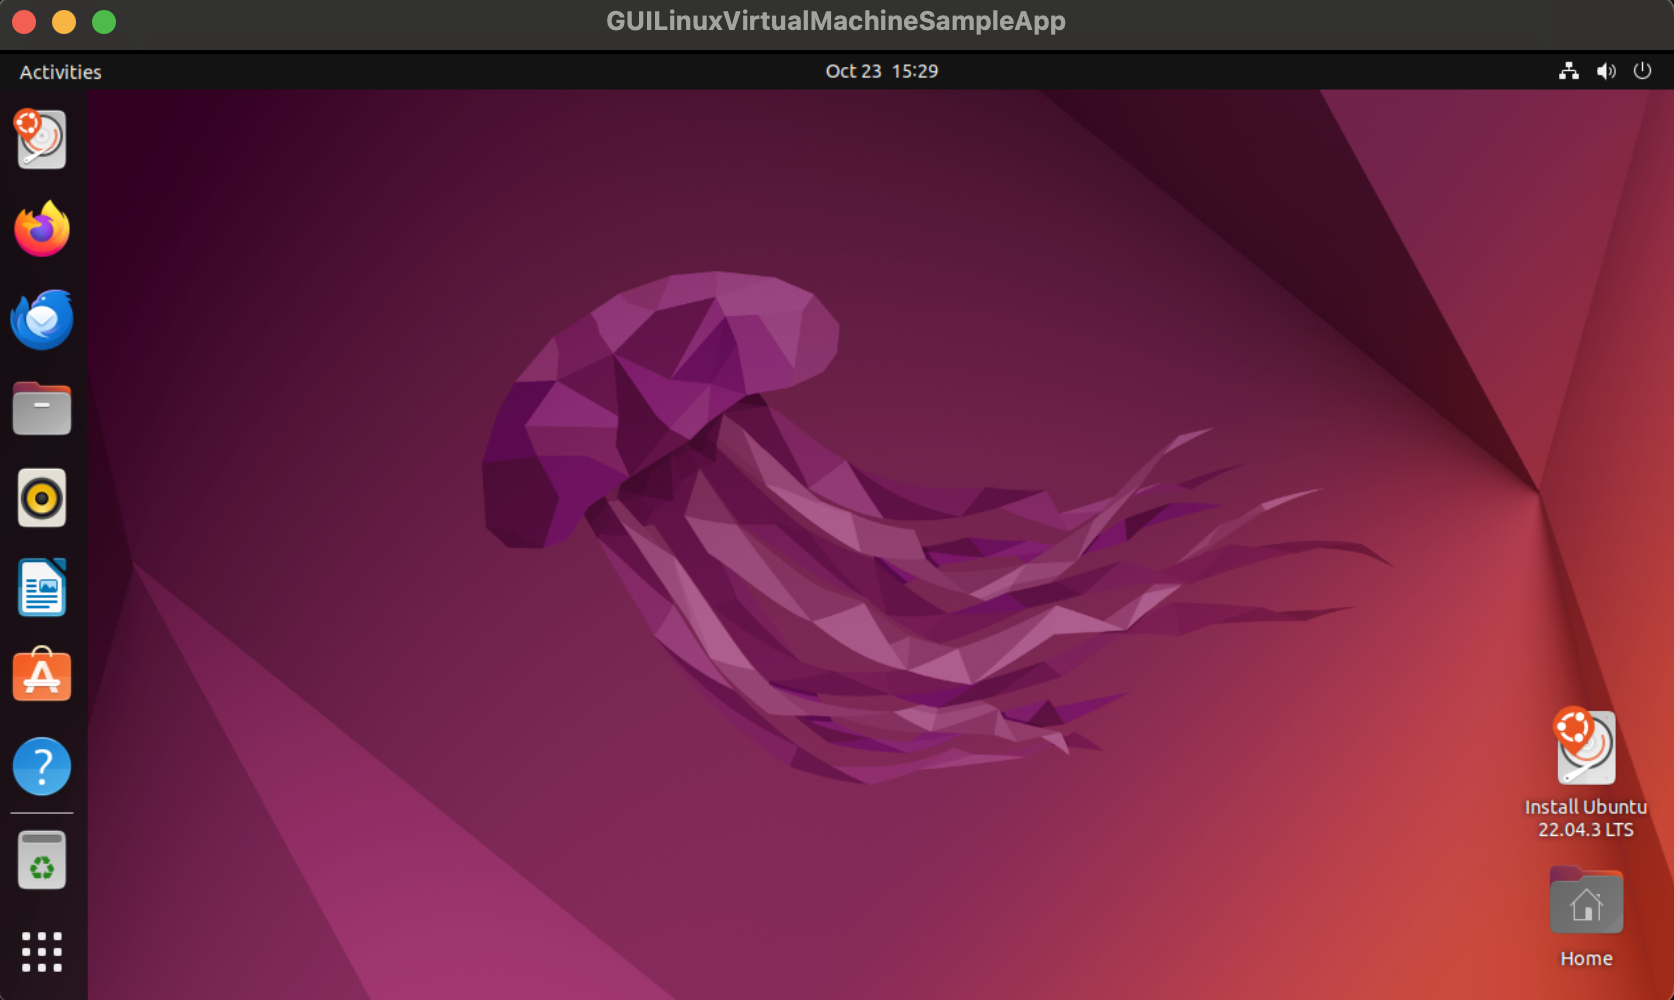
You are now set to use your VM!
Windows 11 on UTM
To run Windows for free on MacOS we will use an emulator called UTM. While UTM is available on the Mac App Store for approximately 10 eur, you can also download it for free directly from their website at no cost. Remember to run the installer once it’s downloaded.
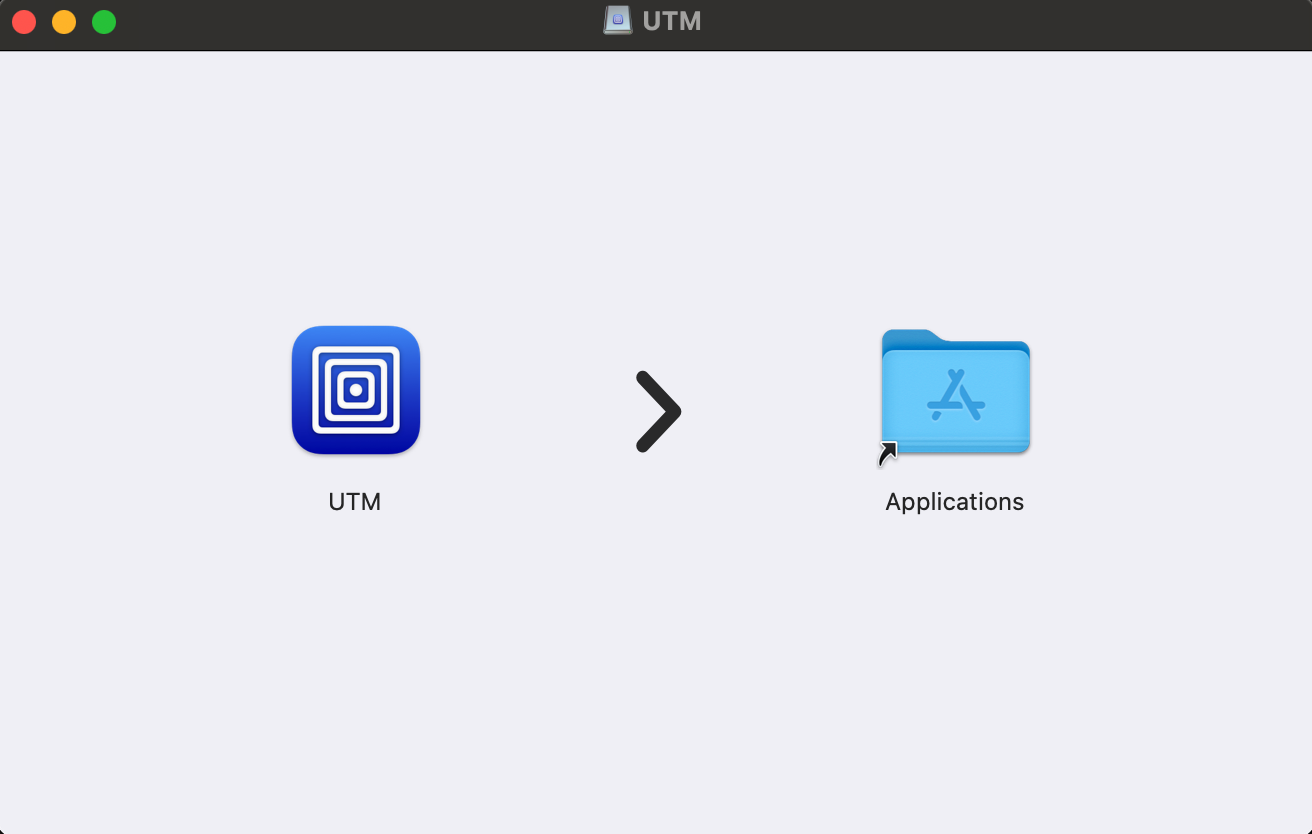
Let’s set aside UTM for now and focus on obtaining a free version of Windows 11 for ARM. Although Microsoft has not
officially released one yet, you can join the Windows Insider Program and download a free
preview of Windows 11 on Arm.
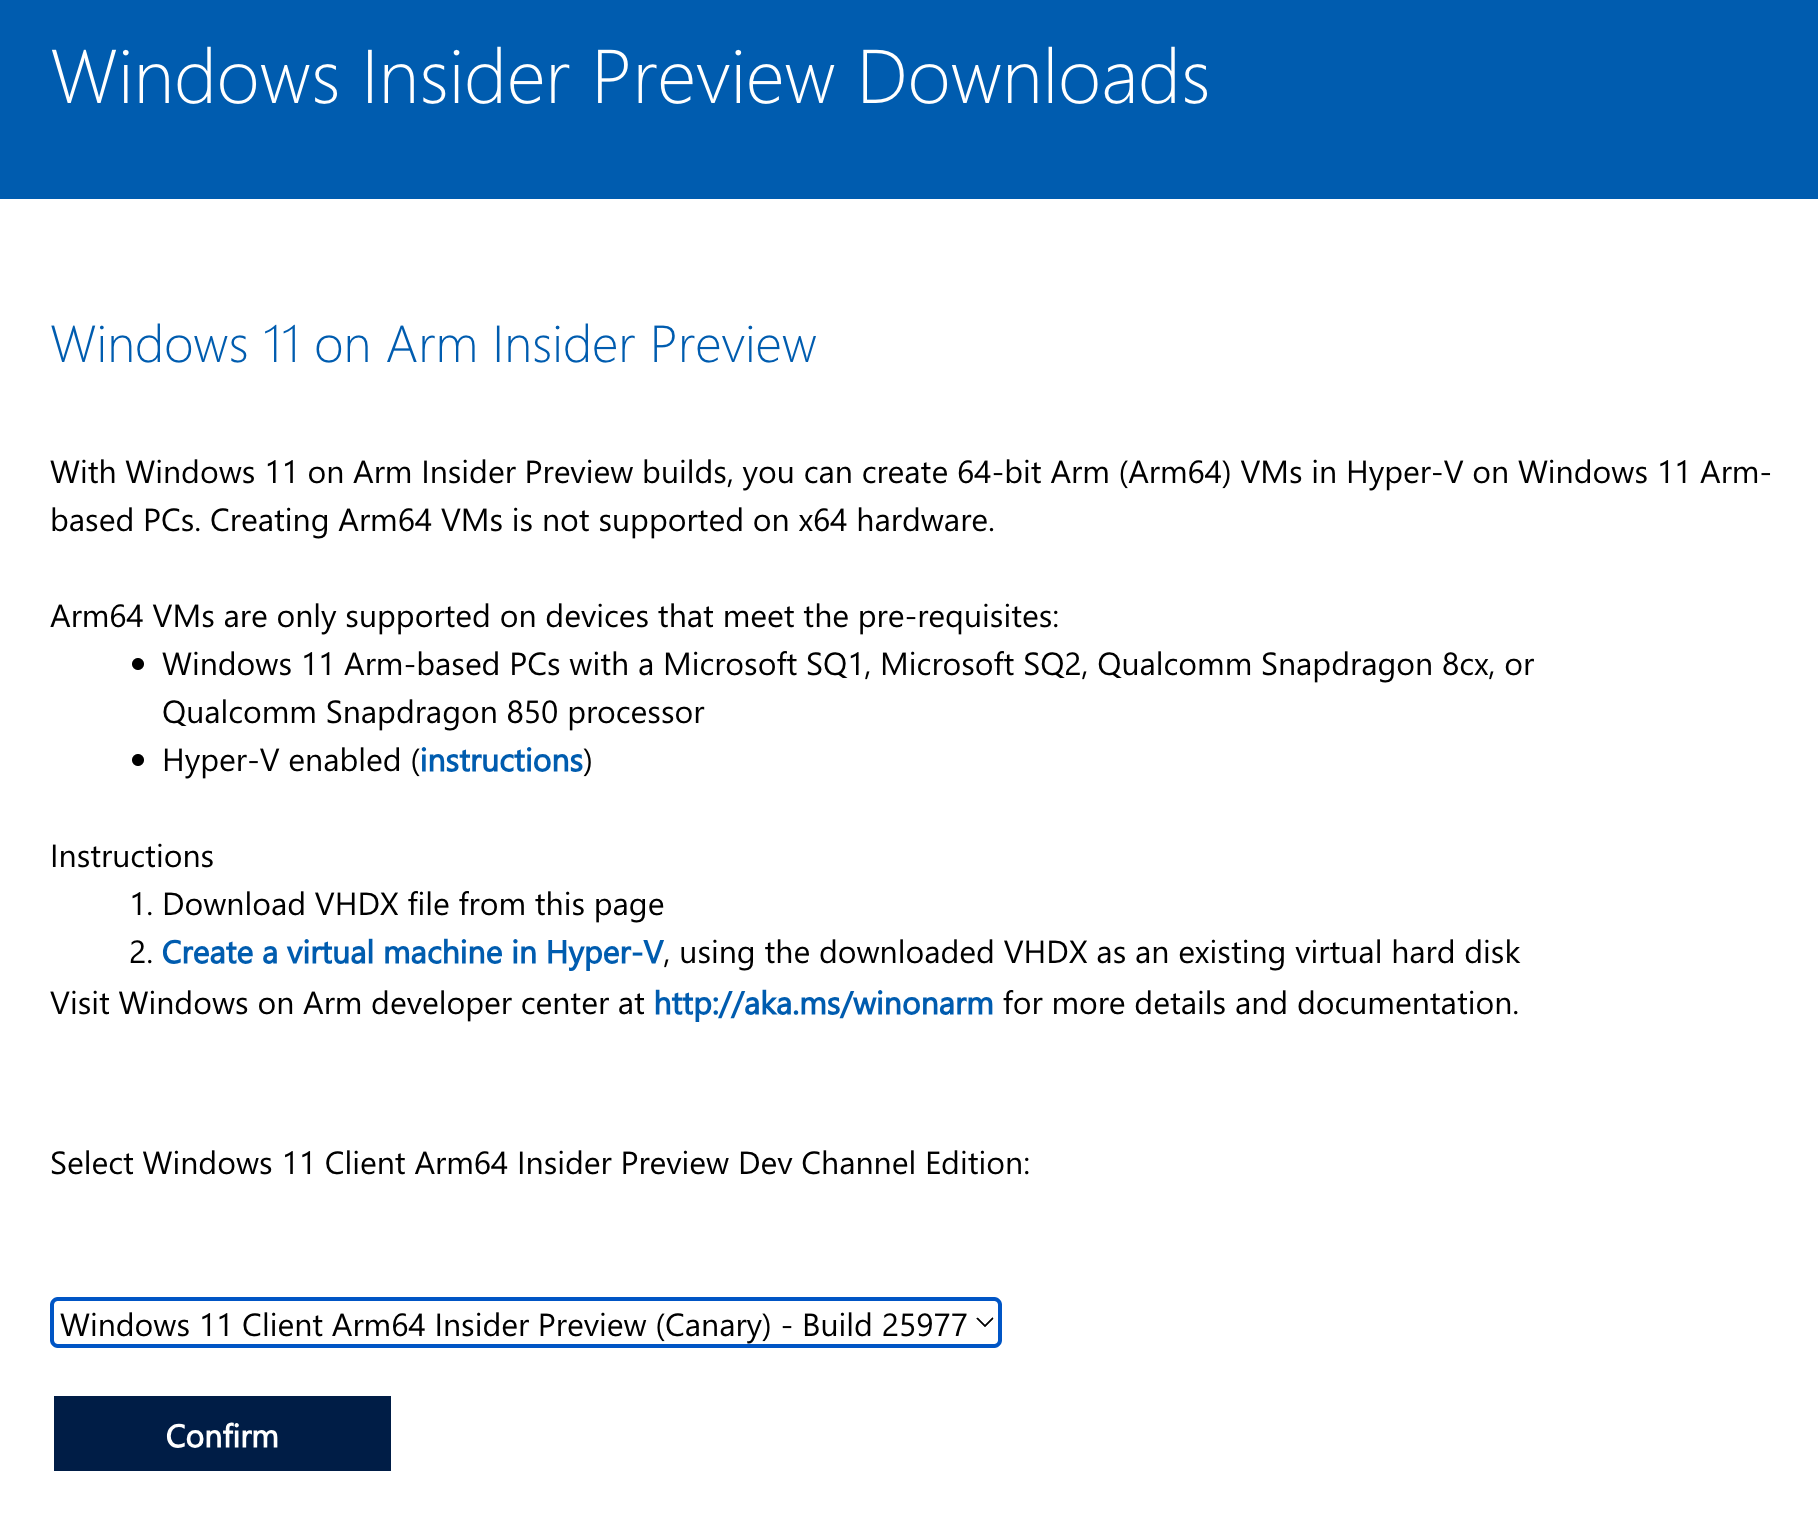
Given that the file size exceeds 10GB, you might consider taking a coffee break while the download completes.
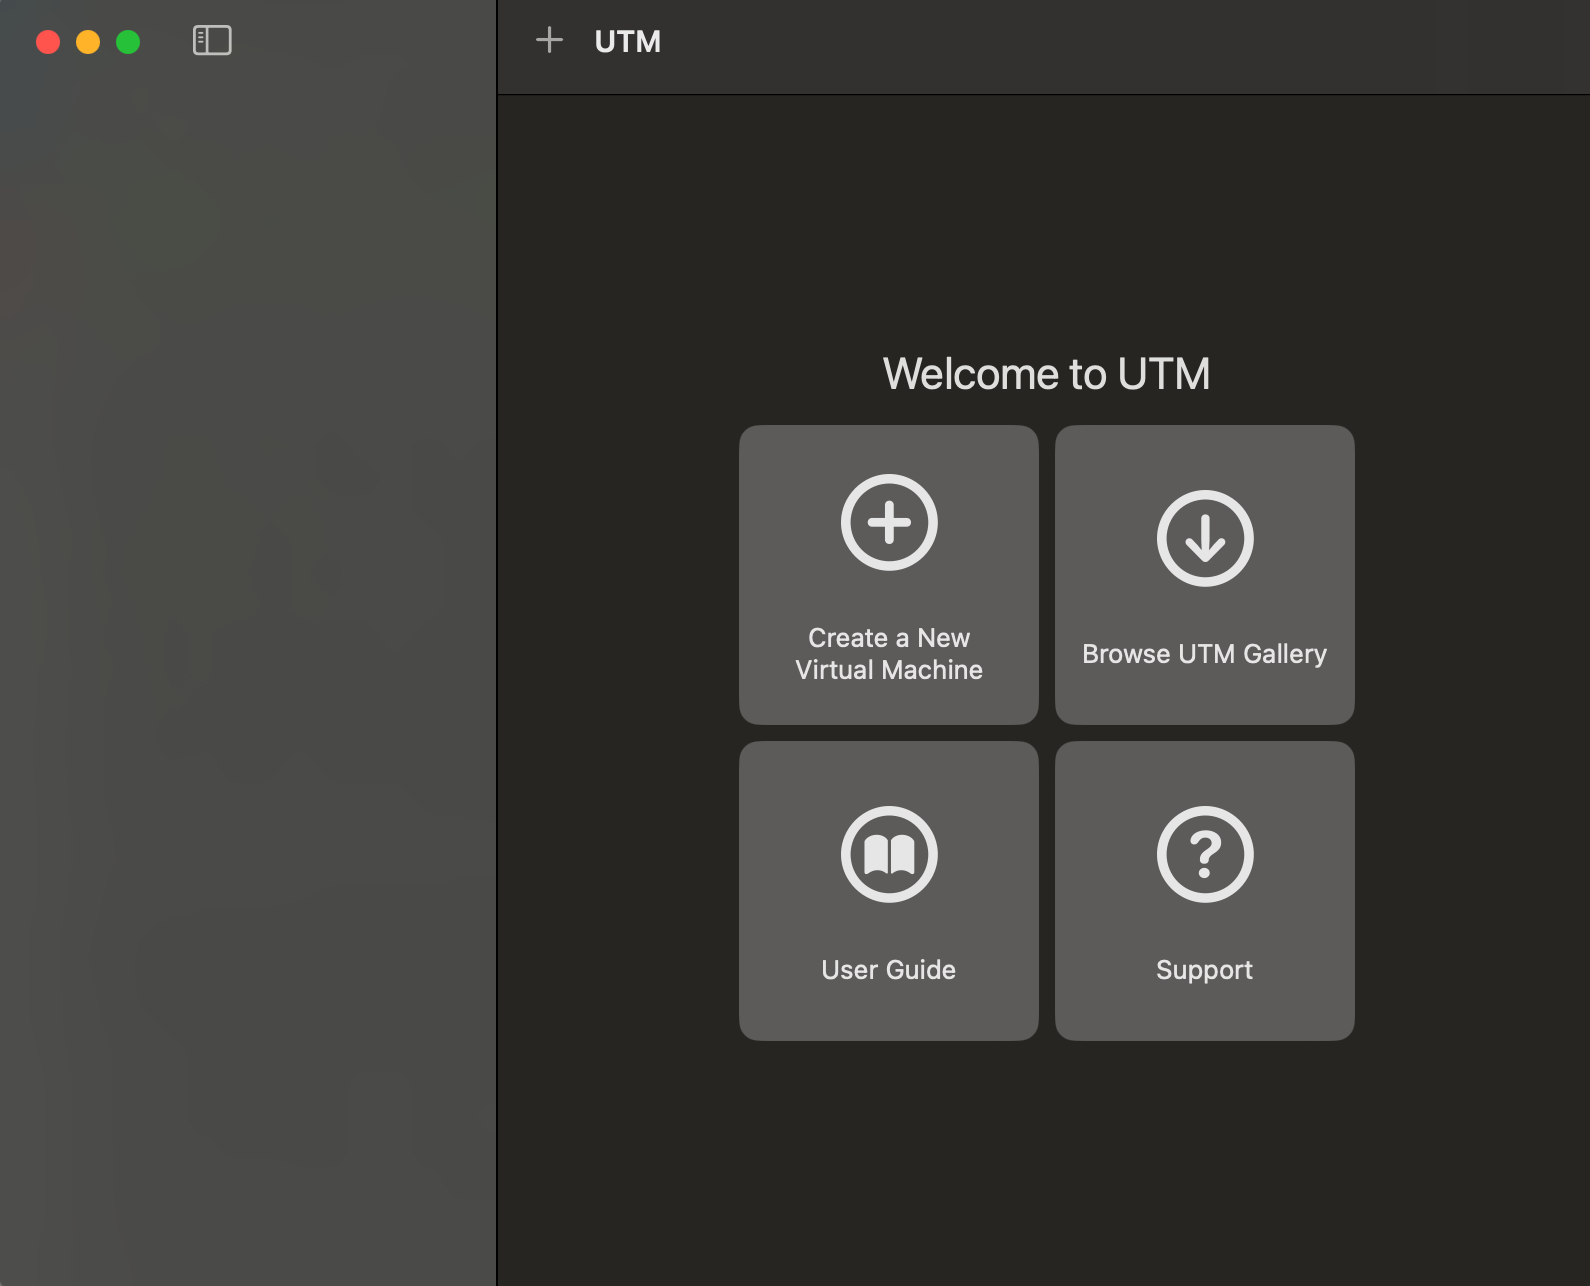
Once the Windows 11 download is complete, launch UTM and opt for Create a New Virtual Machine.
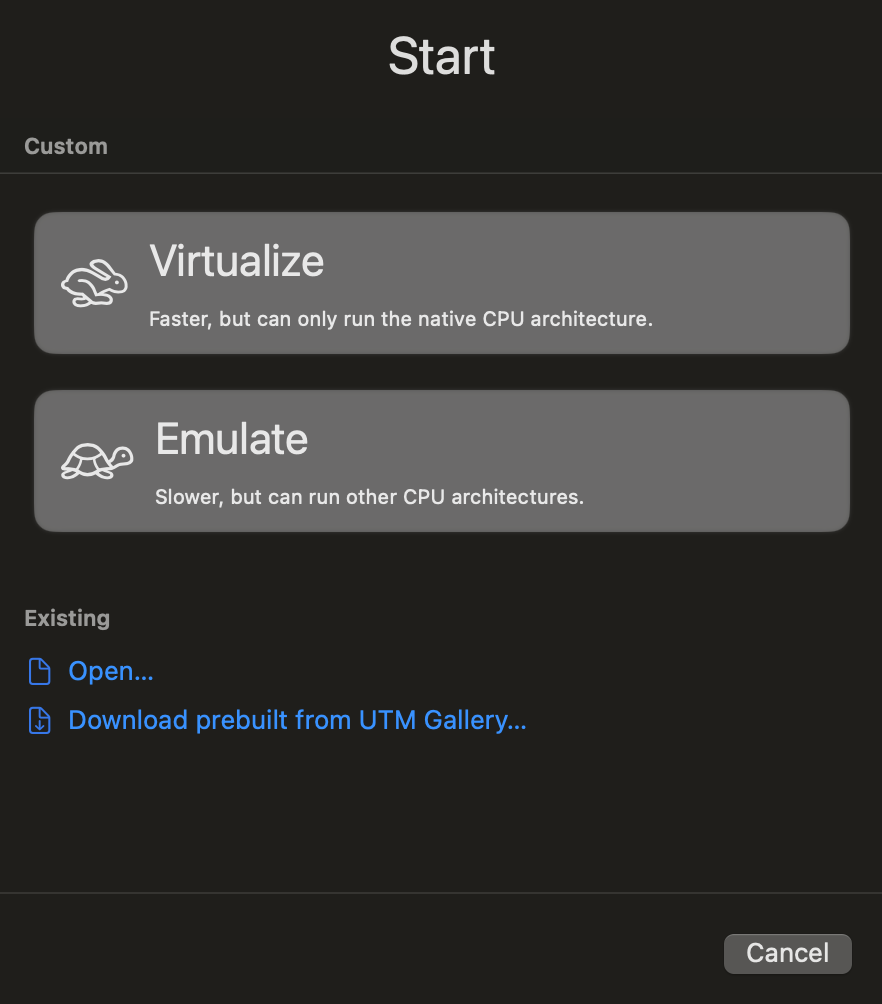
As you’ve downloaded an ARM version of Windows 11, select Virtualize in the subsequent screen. If you were attempting
to run an Intel version of Windows 11 on an M1 or M2 Mac, you’d need to choose Emulate instead, which is expected to operate at a slower pace.
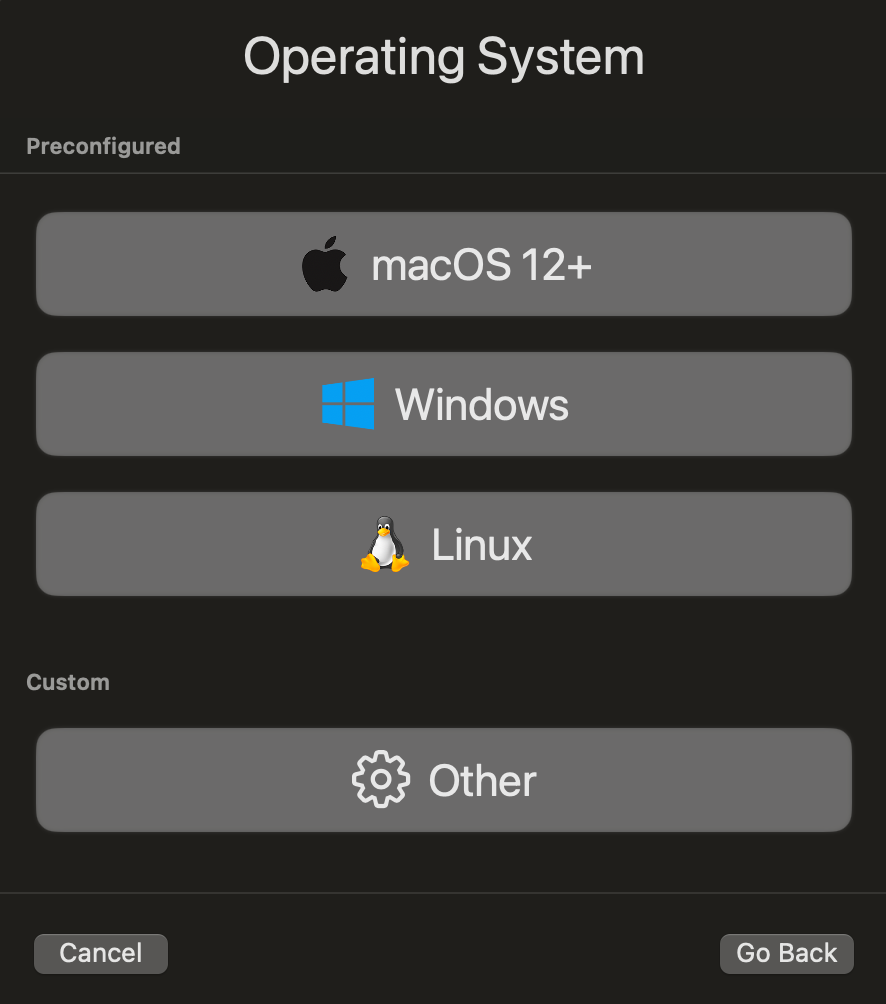
Select Windows as the operating system we are running.
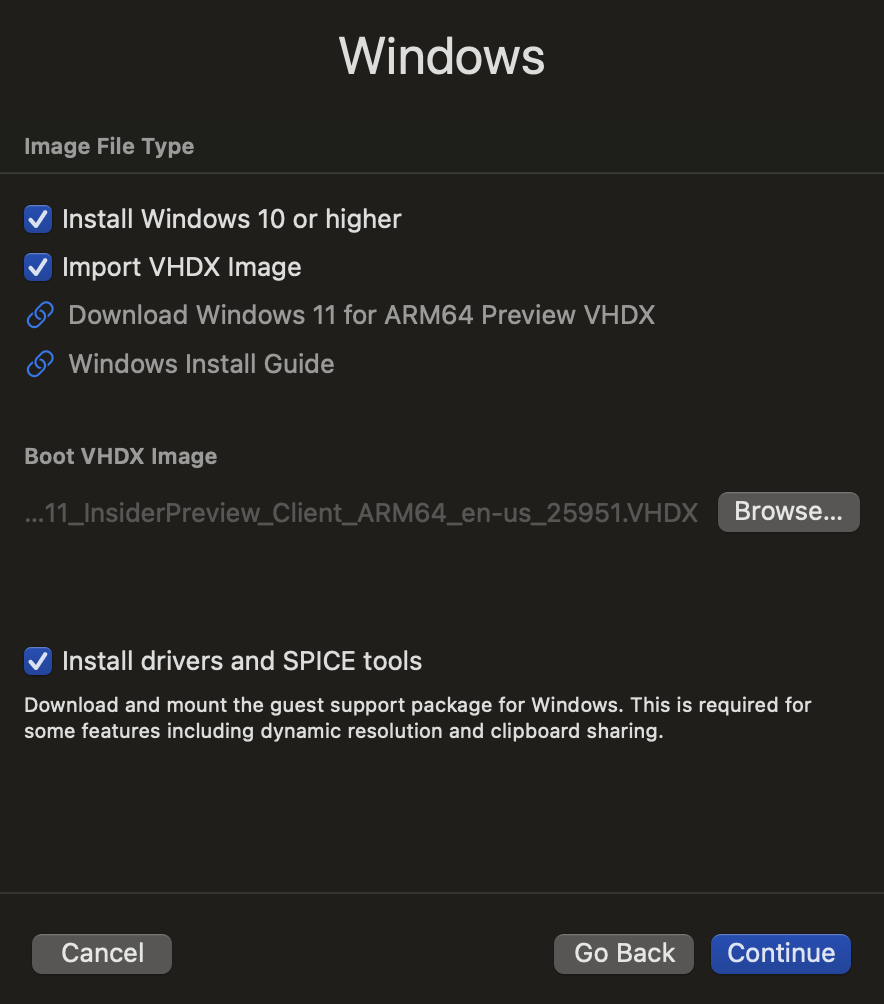
By default, UTM is configured to install Windows 10 or higher, along with the necessary drivers and SPICE tools, to ensure a
smoother operation of your Windows VM. You should check the Import VHDX Image, then click Browse to locate the Boot ISO Image disk image
for Windows that you’ve downloaded.
You’ll need to specify the amount of memory and the number of CPU cores that the VM should use. You can start with the default settings and adjust them later if needed.
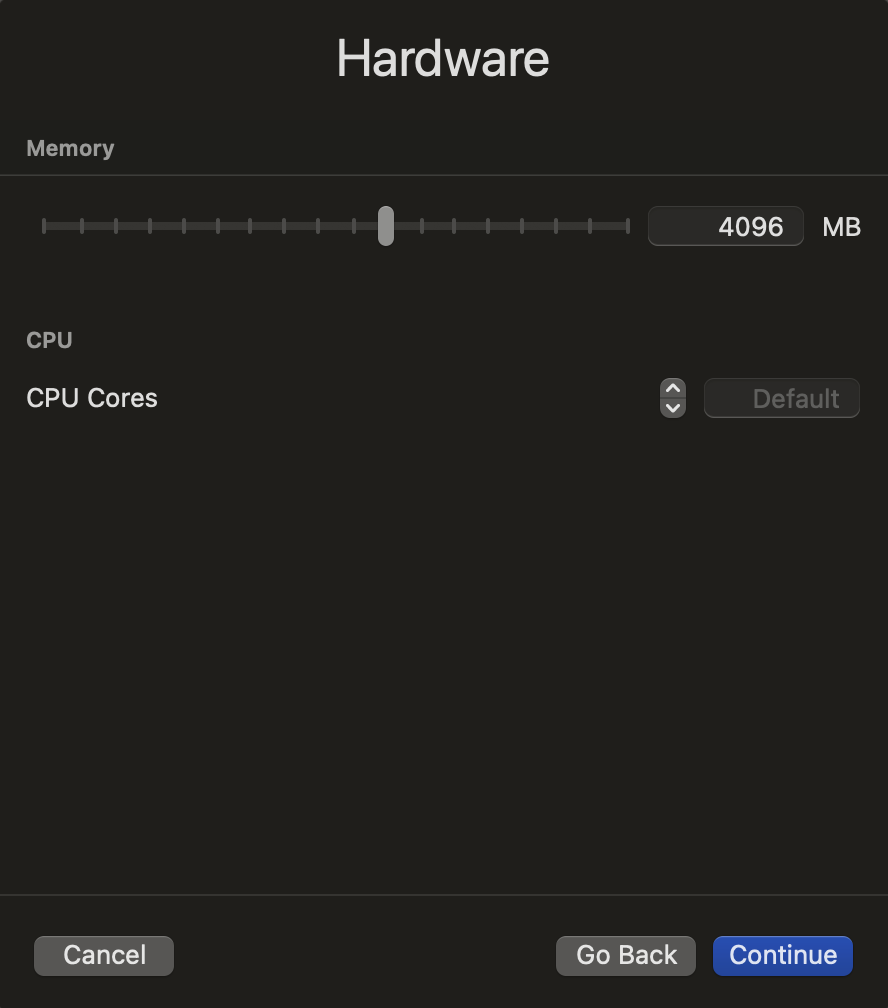
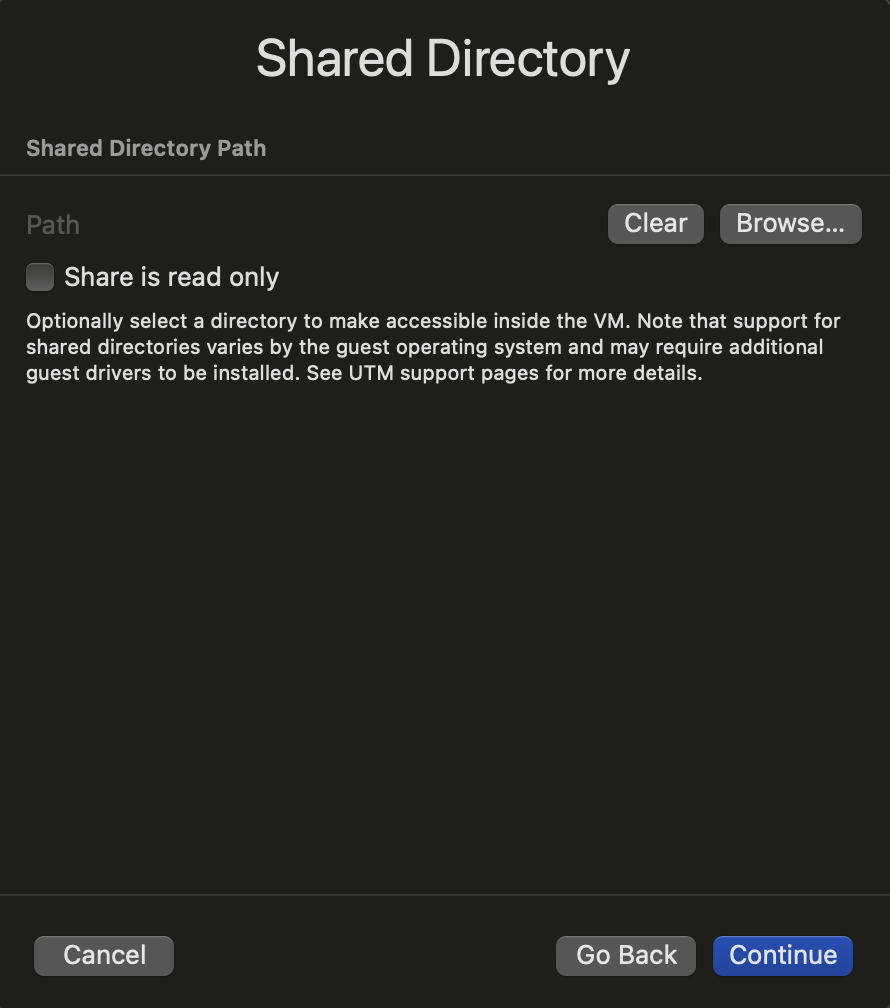
Next, you’ll encounter the Shared directory screen. This is essential if you wish to be able to transfer files
between your Mac and the VM. Click Browse… to select an existing folder or create a new one for this purpose.
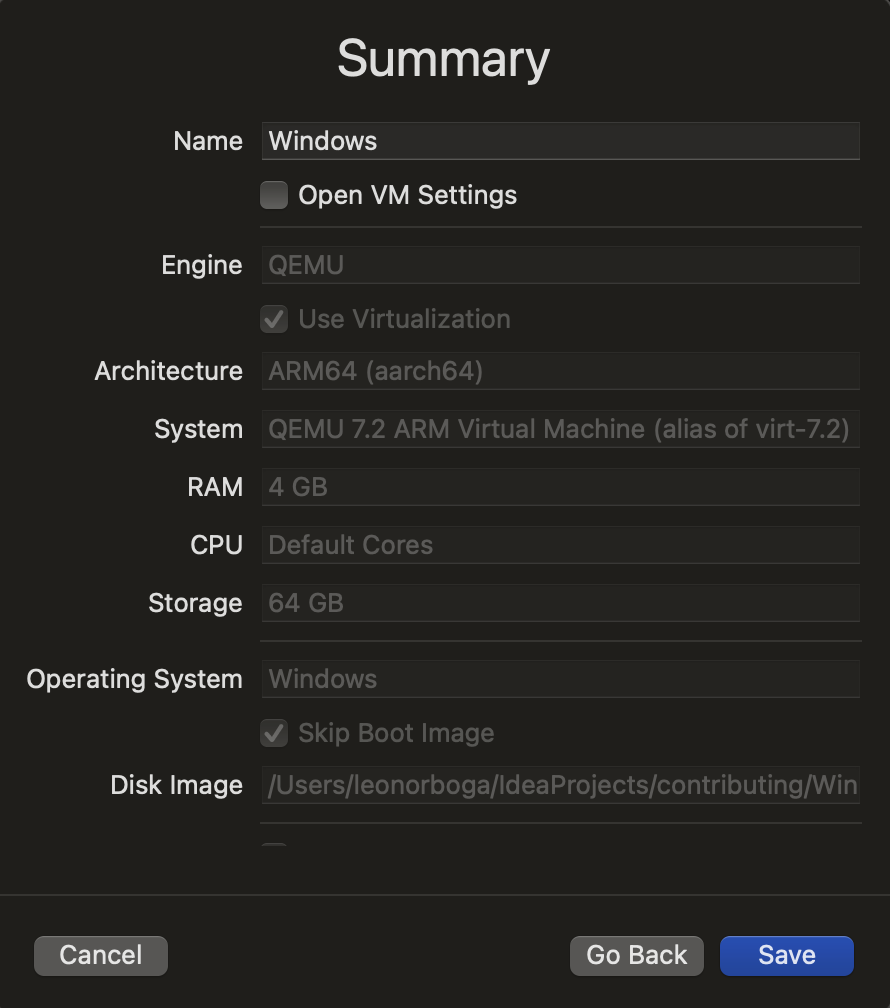
The final Summary screen provides an overview of your chosen settings and allows you to name the VM.
Once you click Save, UTM will begin preparing the VM. Upon completion, your new Windows VM will be listed.
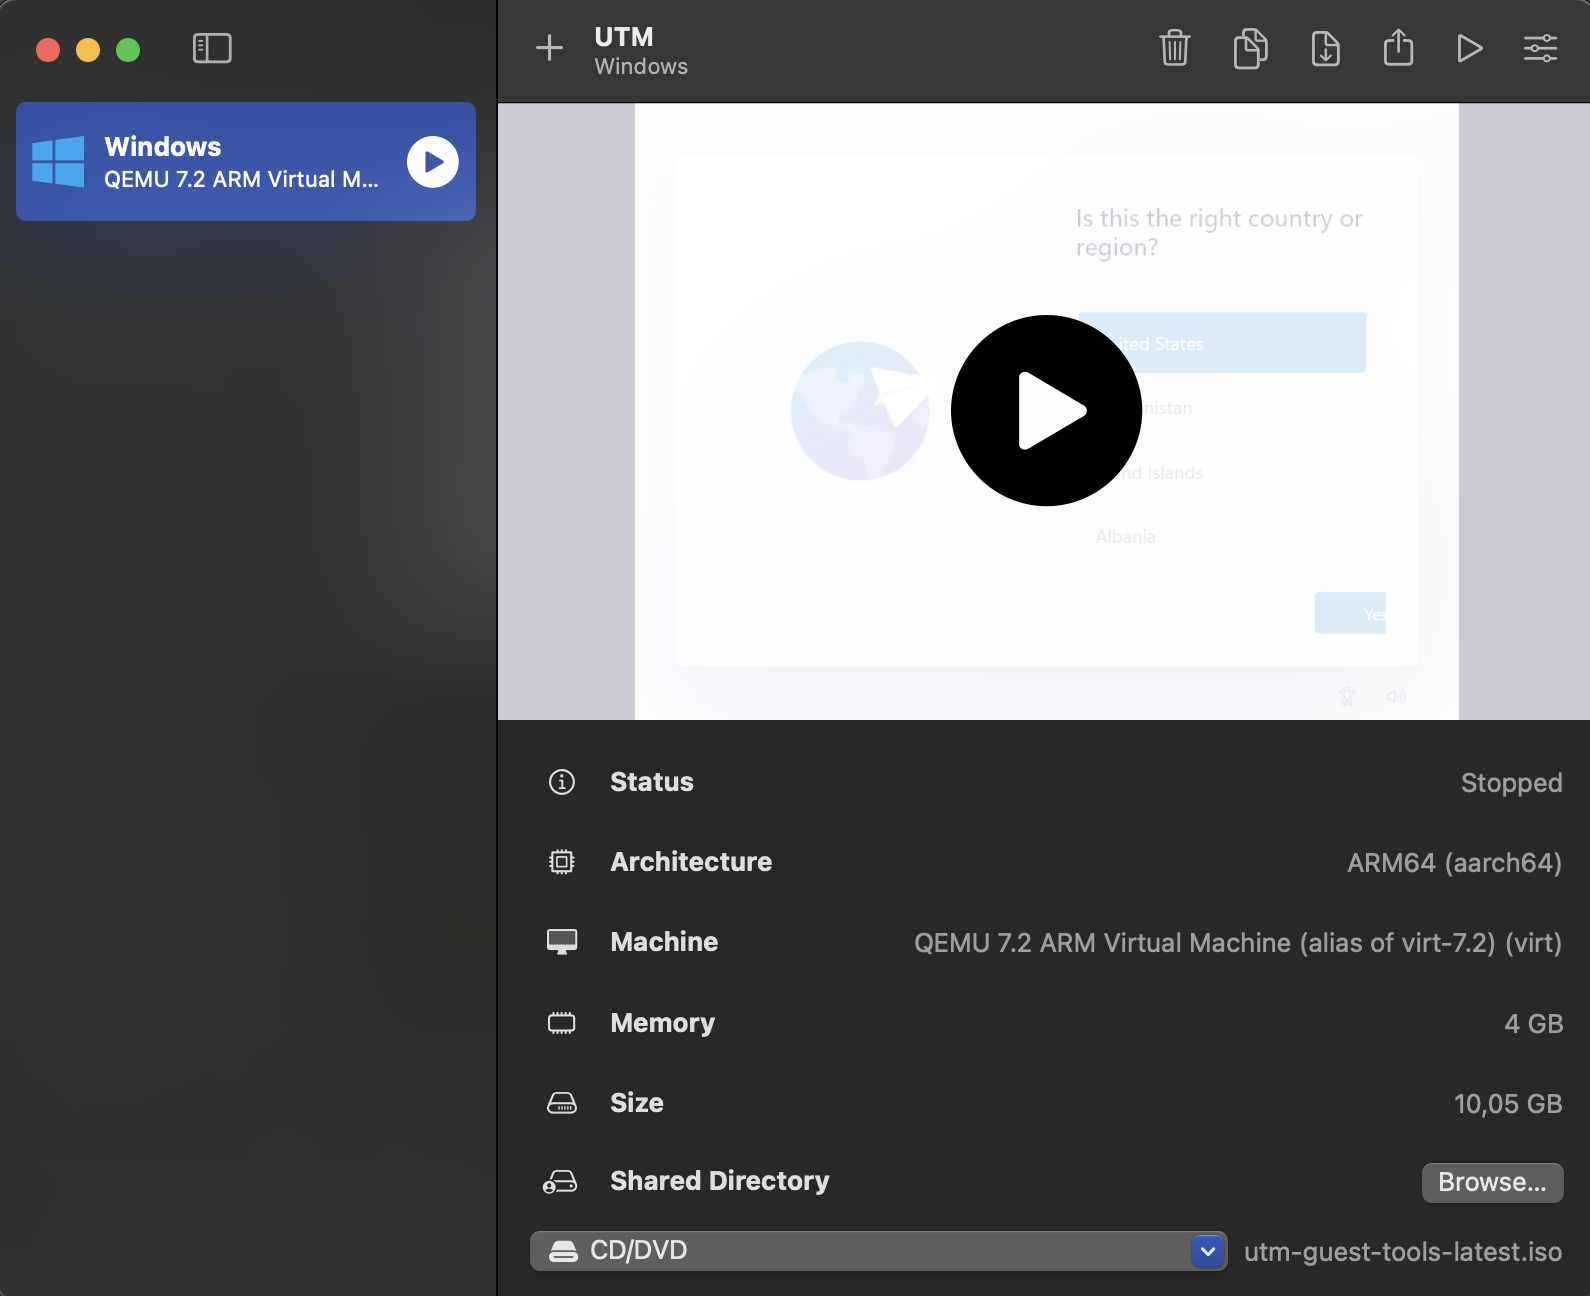
You’re now ready to boot the Windows VM. Click on the large arrow to initiate the VM. Within a few minutes,
you should see the Windows setup screen. If you encounter a hurdle at the Let’s connect you to a network screen during
the Windows setup, shut down the VM and restart it. When you reach the
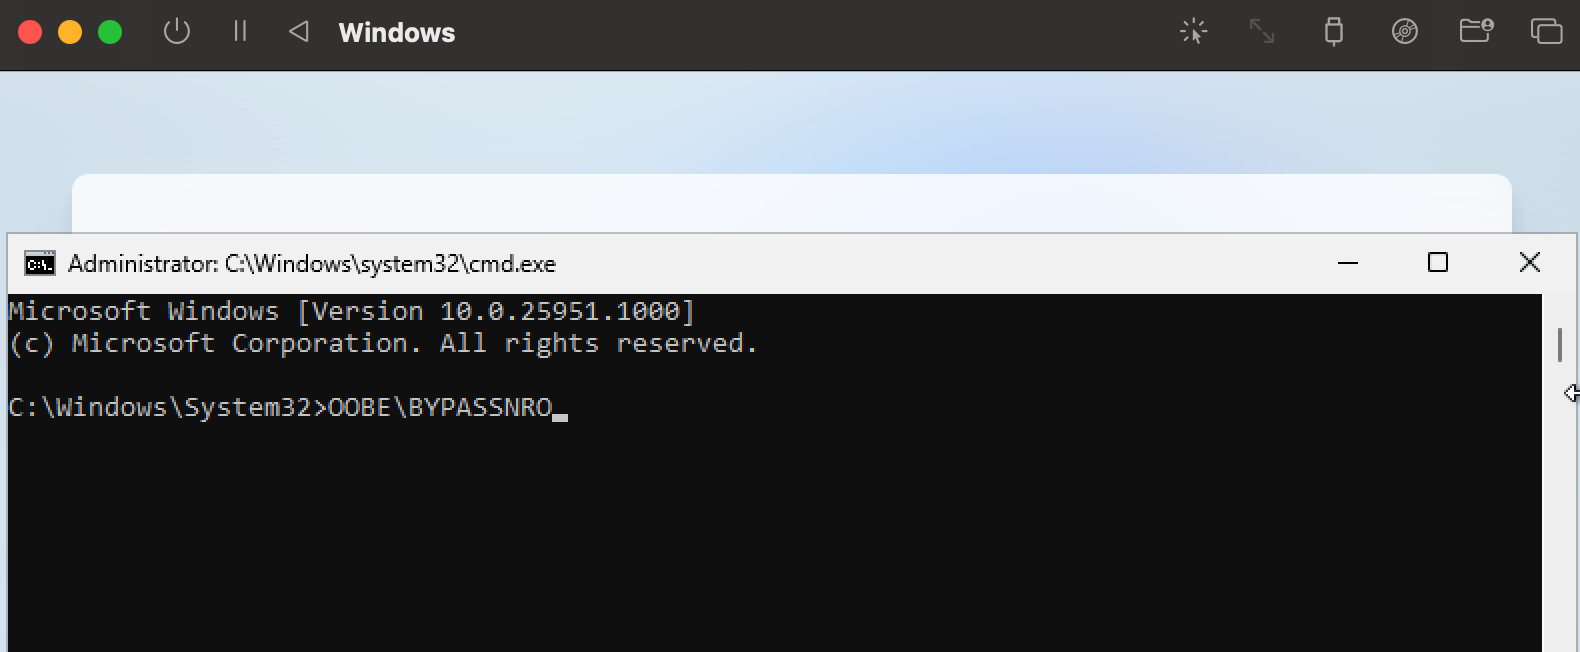
Language selection screen, press Shift-F10 to launch the Windows command prompt. Type OOBE\BYPASSNRO and press Enter.
This command instructs Windows to bypass the network setup for the time being.
The VM will then restart. During the Windows setup procedure, you’ll be presented with an option for I don’t have internet
when you arrive to the network screen.
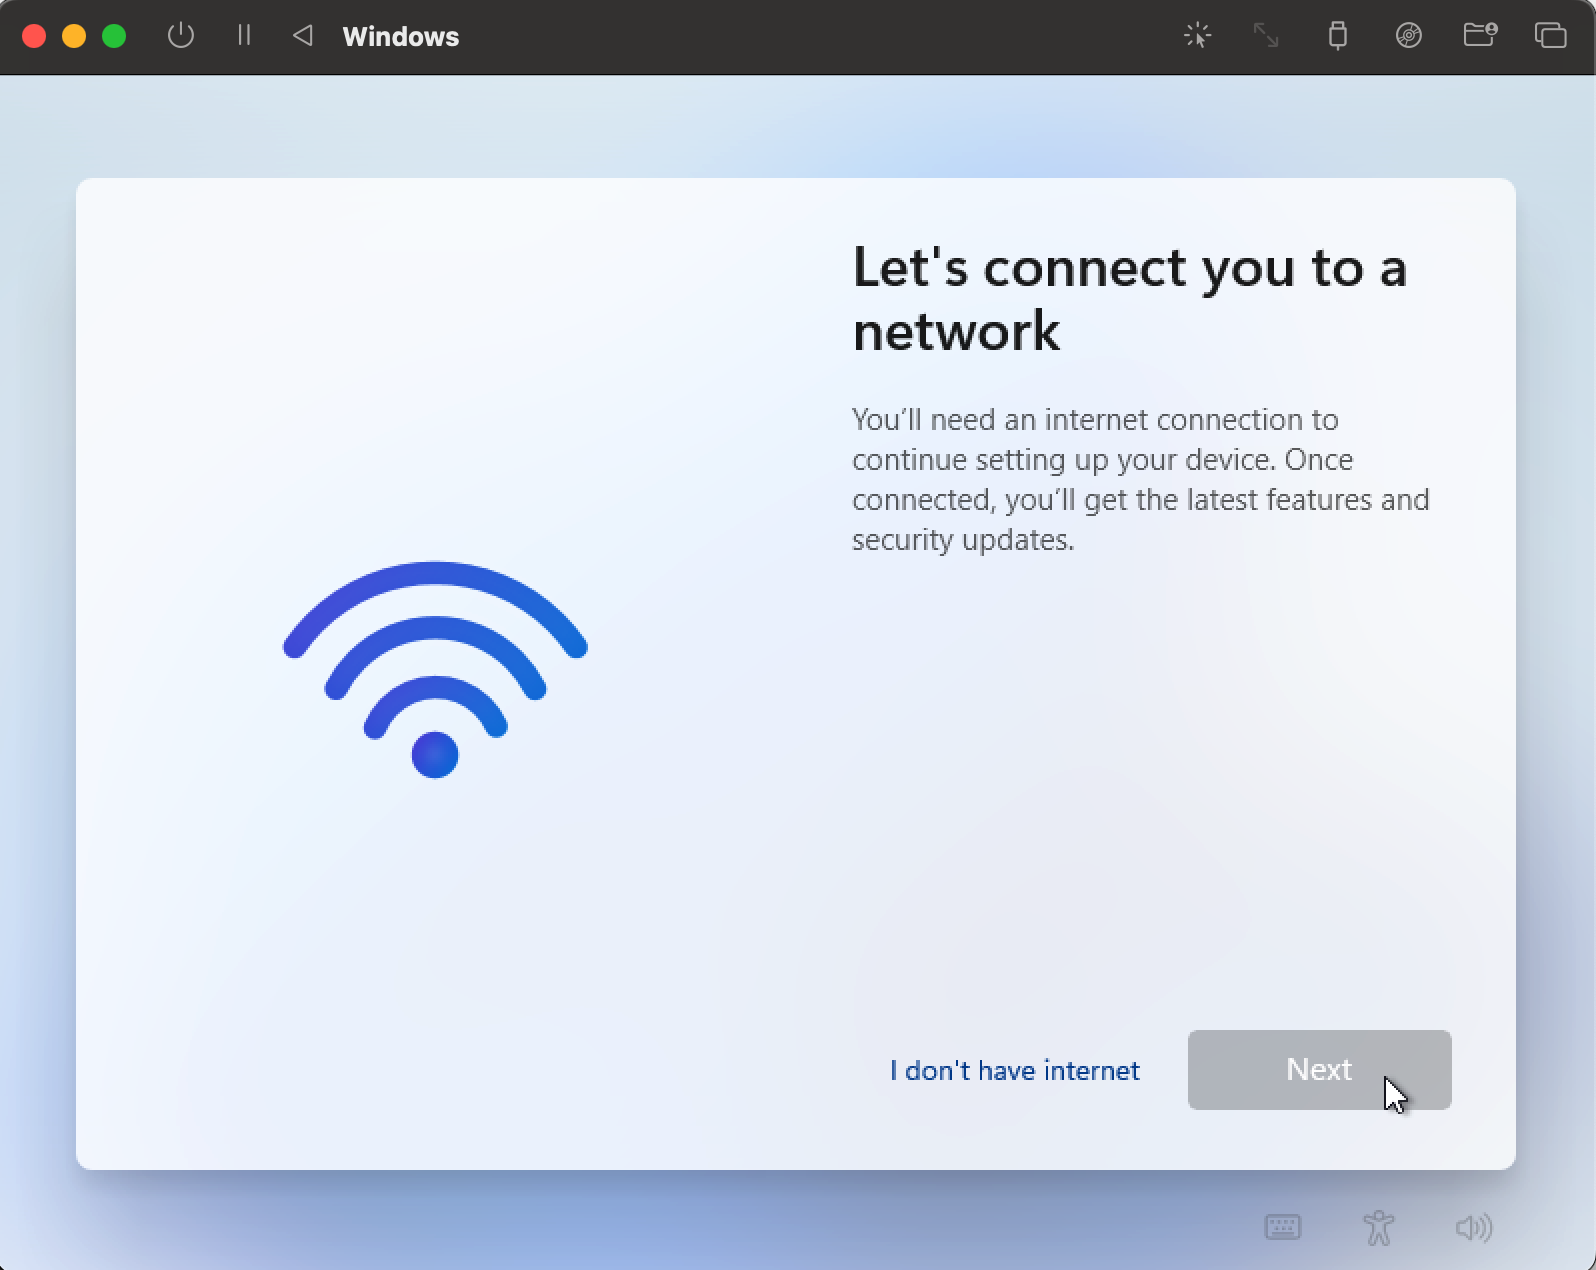
Select I don’t have internet and proceed to complete the Windows setup. We’ll address the internet connection issue later.
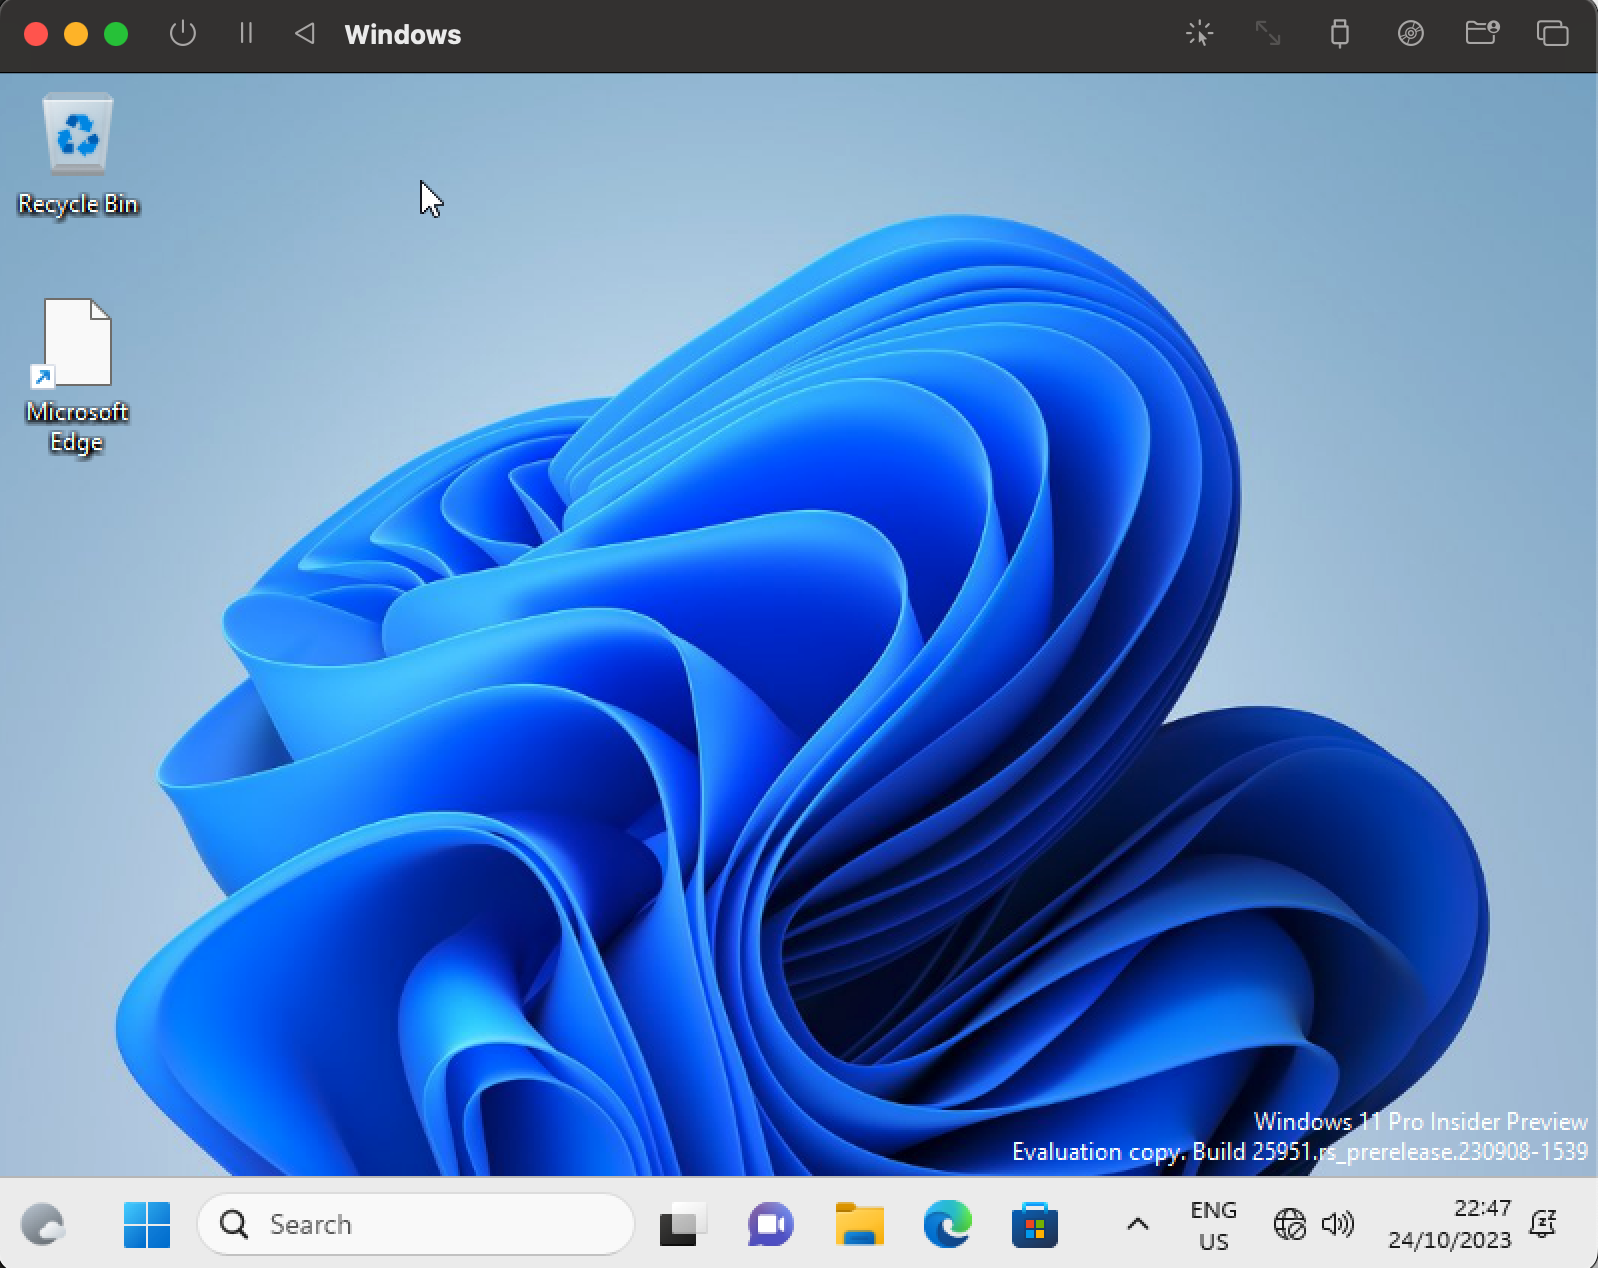
Once you’ve completed the setup, you should be able to see the Windows desktop.
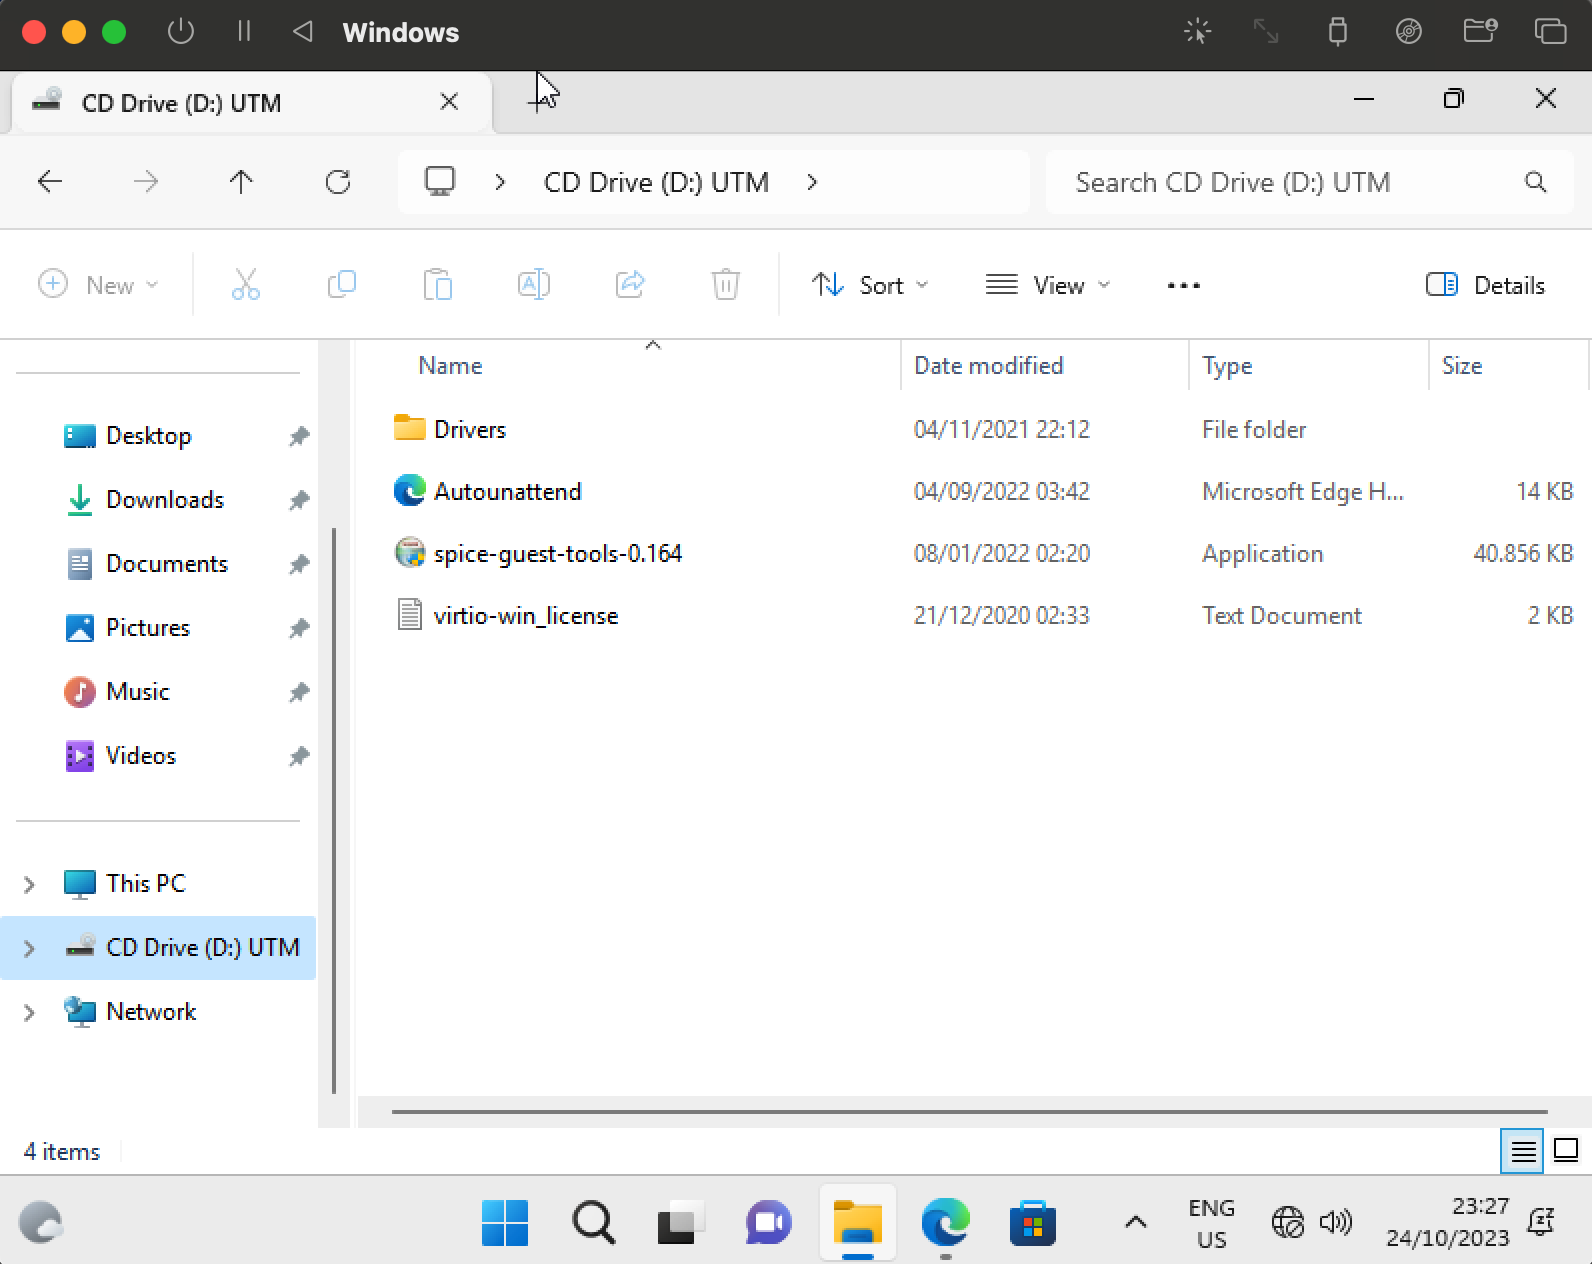
Now, let’s address the internet connection issue. UTM has already set up a drive within the Windows VM to rectify this problem.
Navigate to My Computer > CD Drive (D:) UTM and launch spice-guest-tools-xxx.exe where xxx is the version number.
Follow the on-screen instructions to install these tools using the standard Windows installer. Once the installation is complete, reboot the VM.
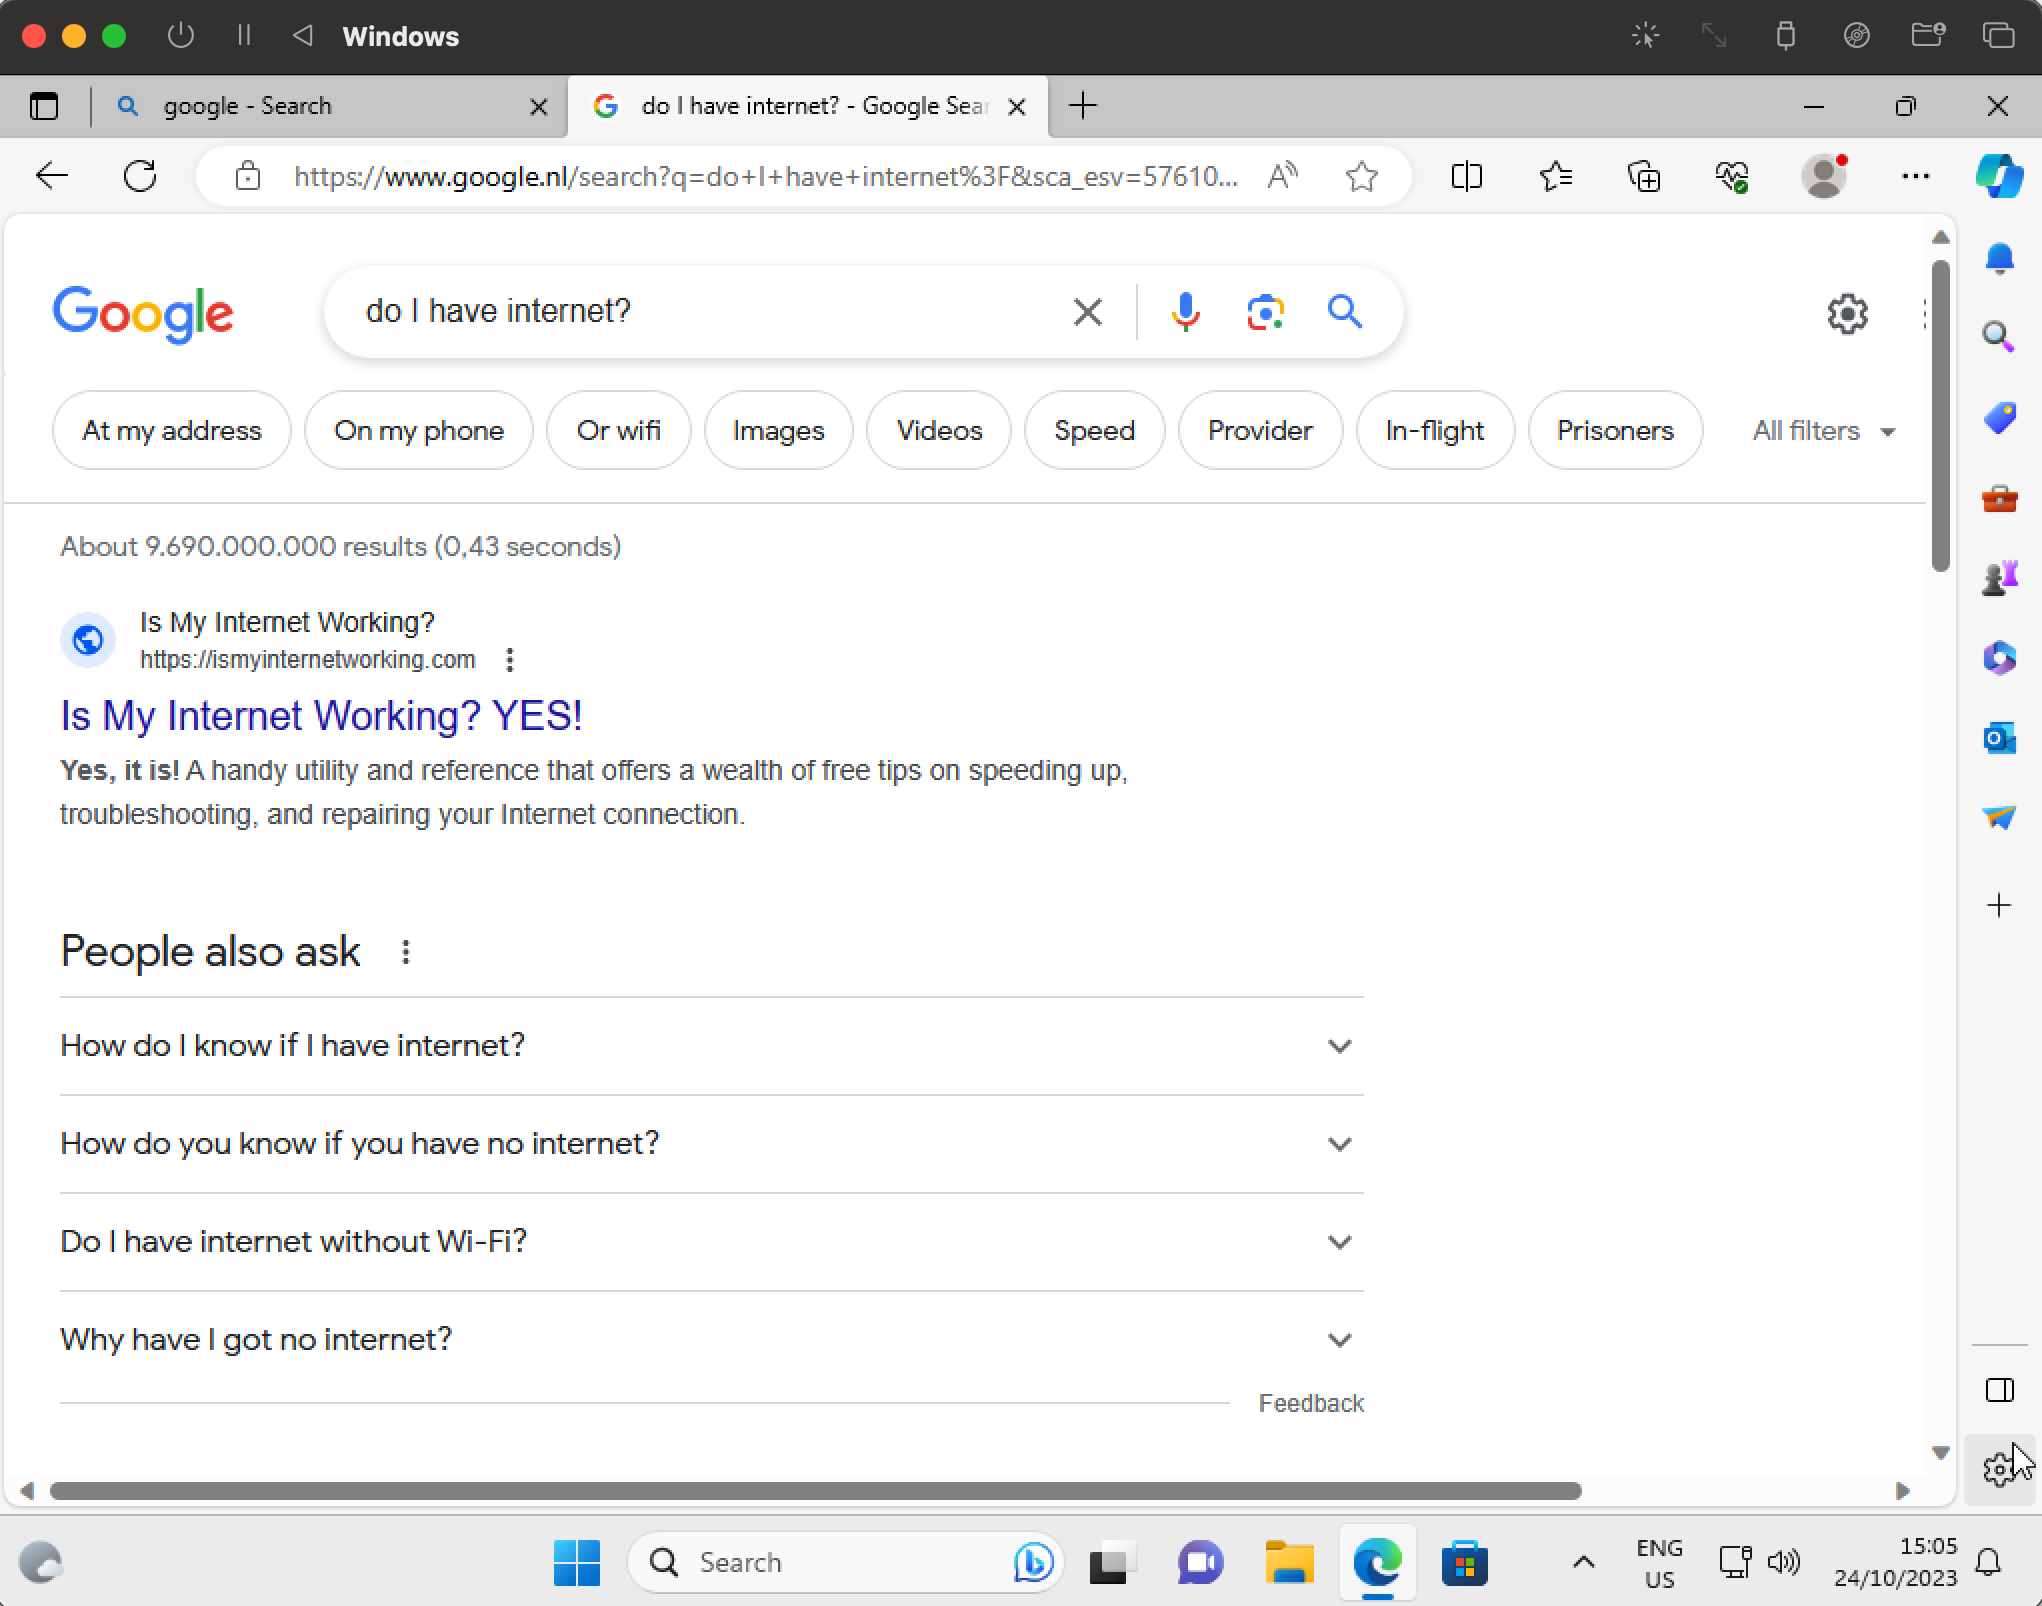
You should now be able to enjoy your Windows VM with an active internet connection.
Conclusion
In this blog post, we successfully set up both a Linux and a Windows VM. The Linux VM was configured using XCode, the ‘RunningGUILinuxInAVirtualMachineOnAMac’ project, and a free Linux distribution — all requiring minimal configuration. The setup of the Windows VM involved a few additional steps. However, by utilizing UTM and the Windows Insider Program, we were able to accomplish this for free, using an ARM-specific image.
